How do I create a free AWS account and set up my console?


With AWS, you can easily and flexibly scale and manage your applications and services from anywhere in the world using a user-friendly web interface . AWS is one of the most popular cloud computing platforms and is used by many companies around the world.
What is AWS?
AWS offers a free version of its platform, which is called AWS Free Tier.
The free version of AWS allows you to use selected services within certain limits without incurring additional costs.
For example, you can enjoy free cloud storage, free compute, or a free database for a limited period of time. After this time, you can continue to use the services, but you will have to pay for their use. The free version of AWS is perfect for people who want to try out the platform or use it in a small way.
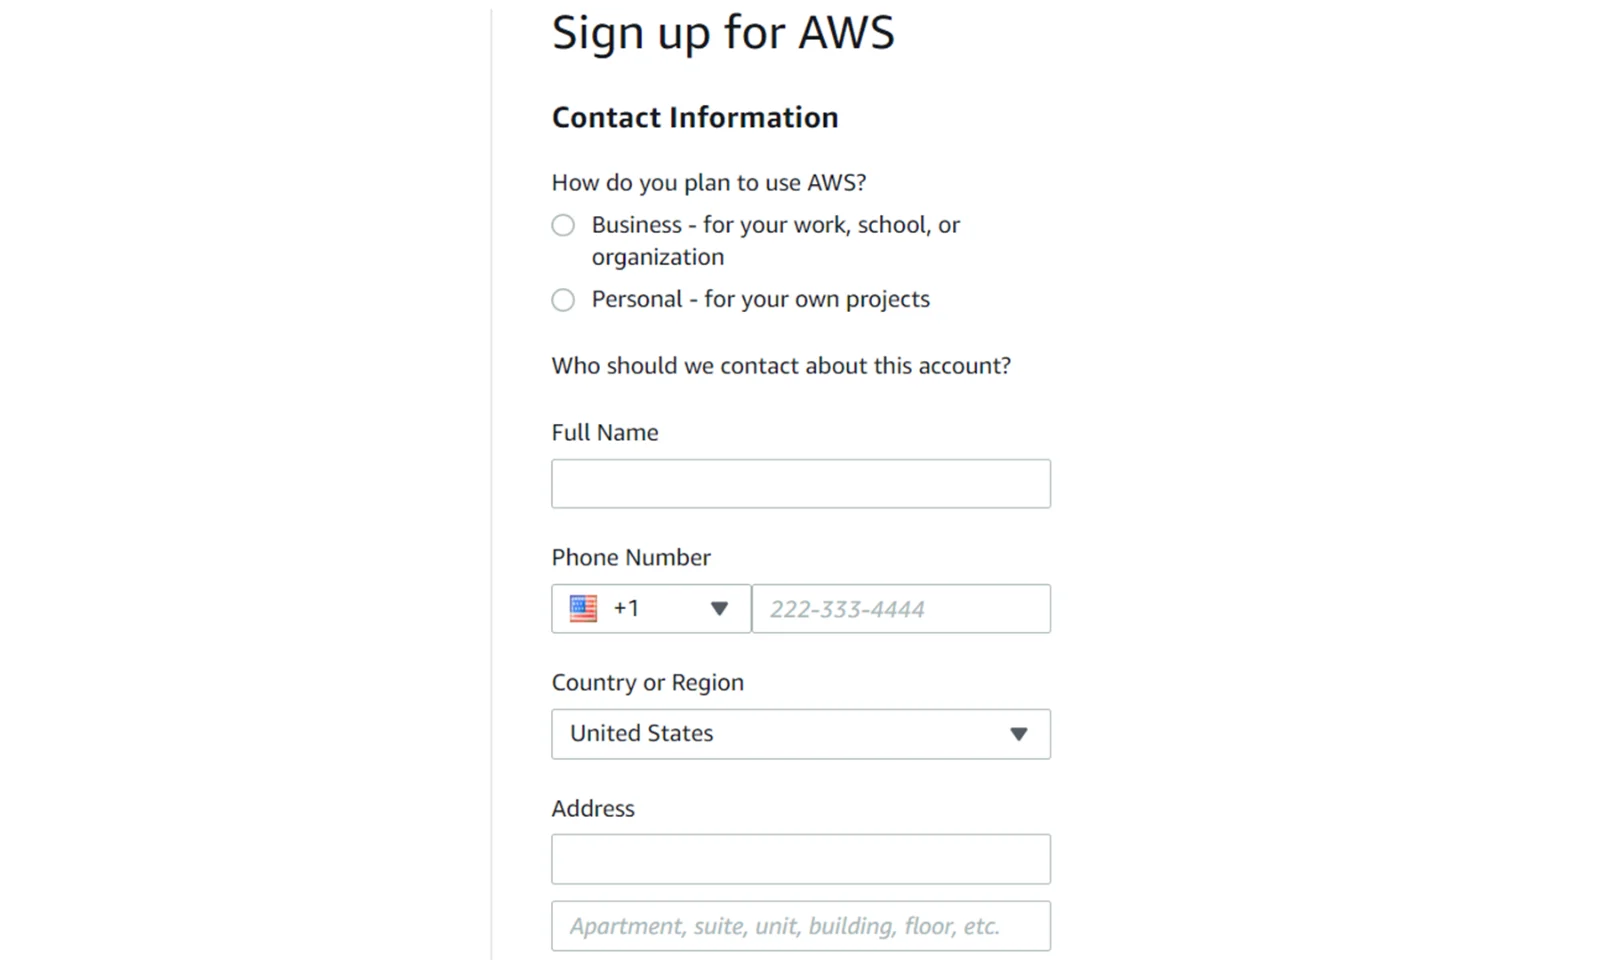
Please remember that when creating an account, you will need to provide a payment card number that can be used to pay online. Therefore, if you exceed any limit, you will be charged from this card. Therefore, it is worth monitoring costs on an ongoing basis.
You can read more on Wojciech Lepczyński's blog: @wlepczynski https://lepczynski.it/aws/jak-kontrolowac-koszty-w-chmurze-aws/
Step 1
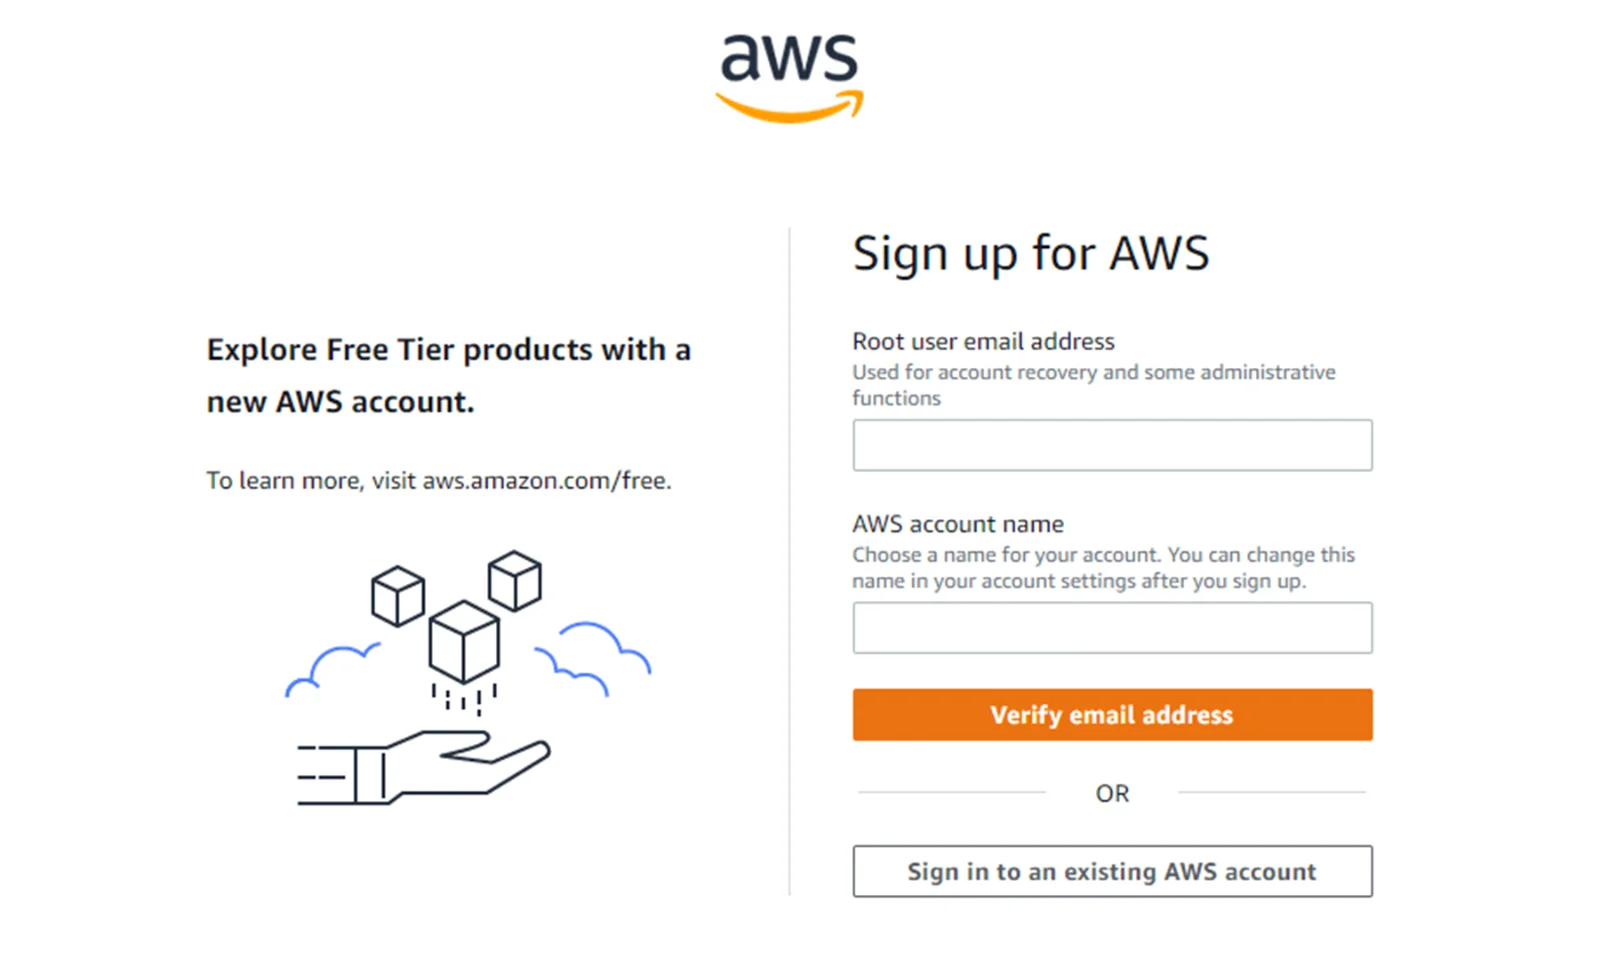
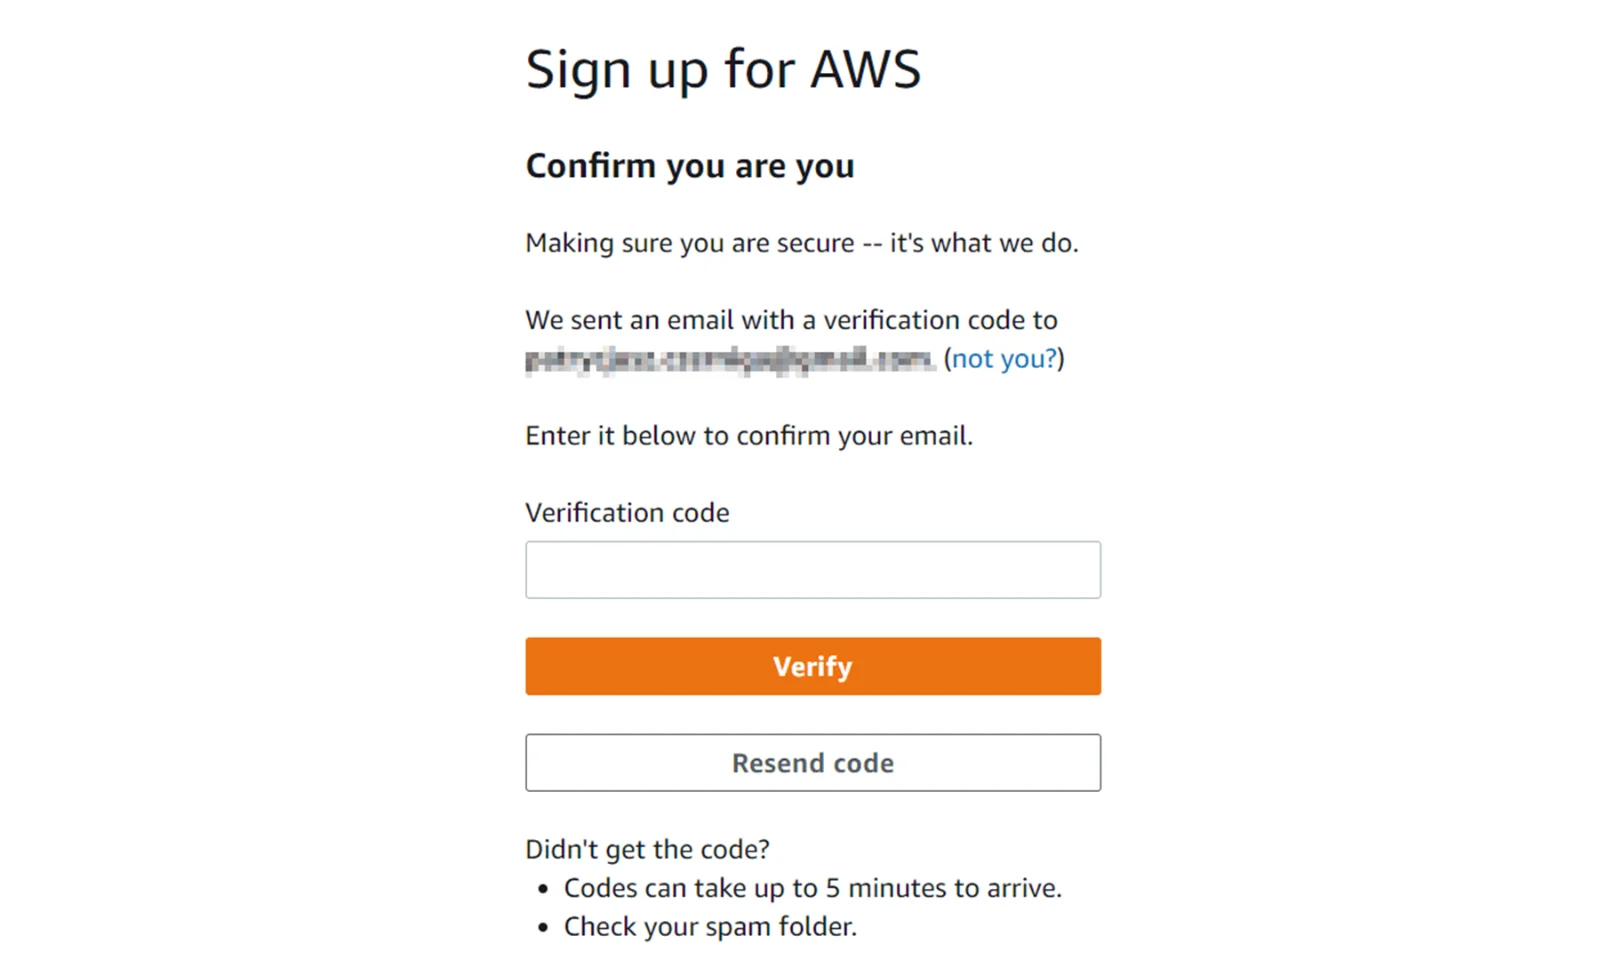
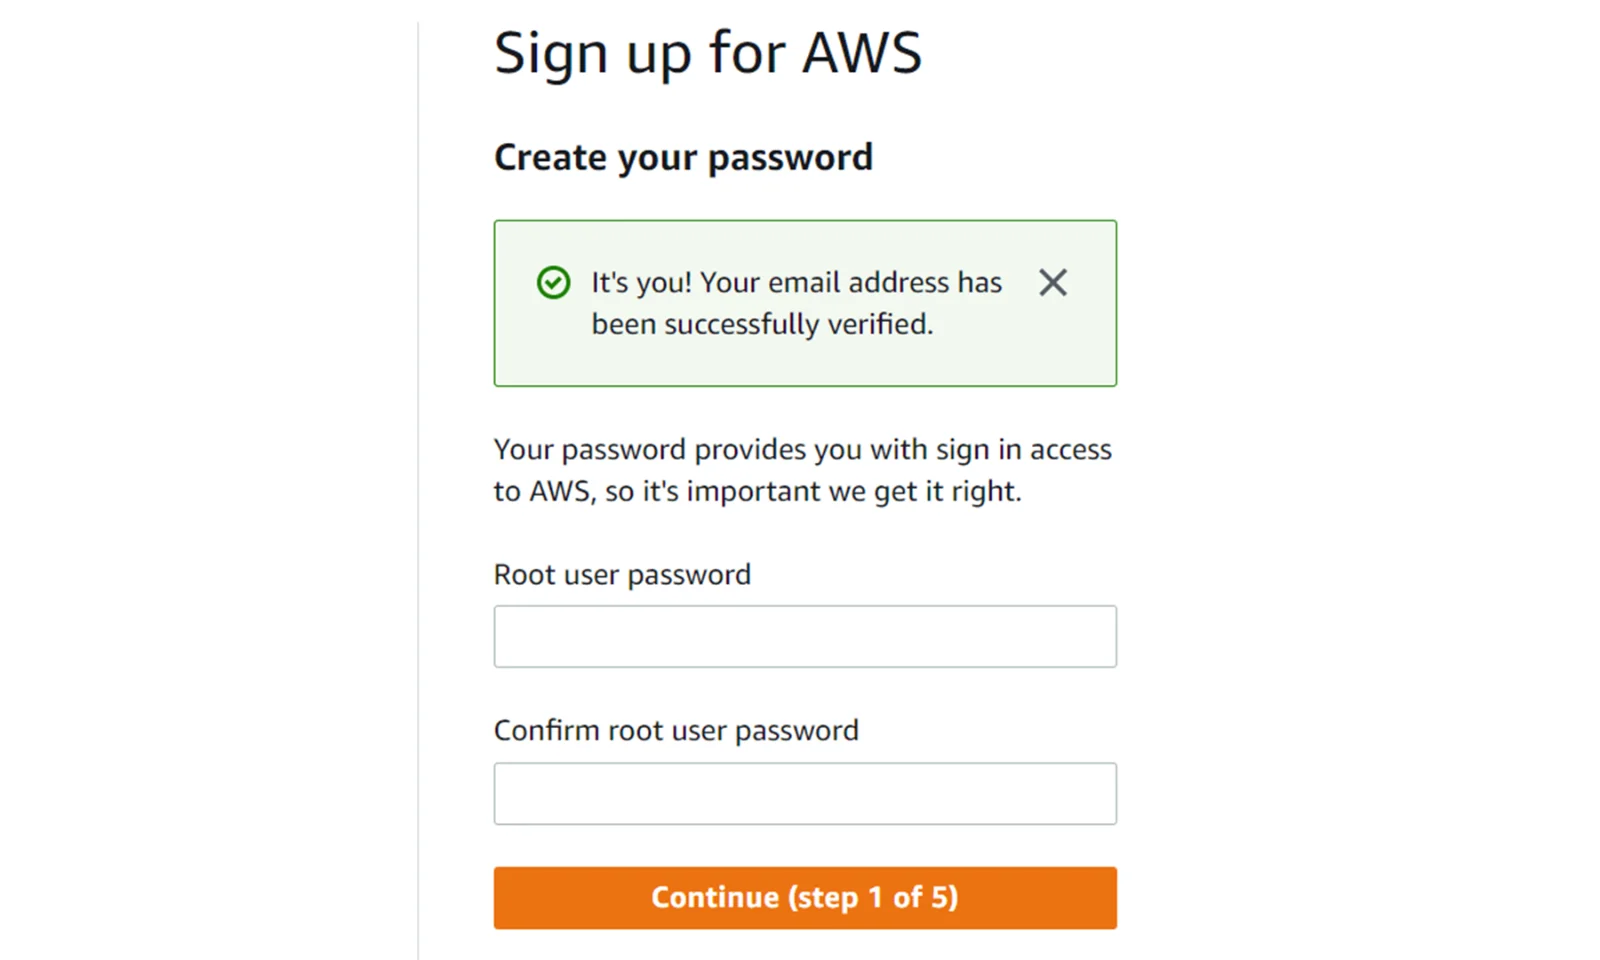
Start creating an account by going to the aws portal.
On this page, we provide our email address and AWS account name. The account name is not that important. You can change it after logging in to your account.
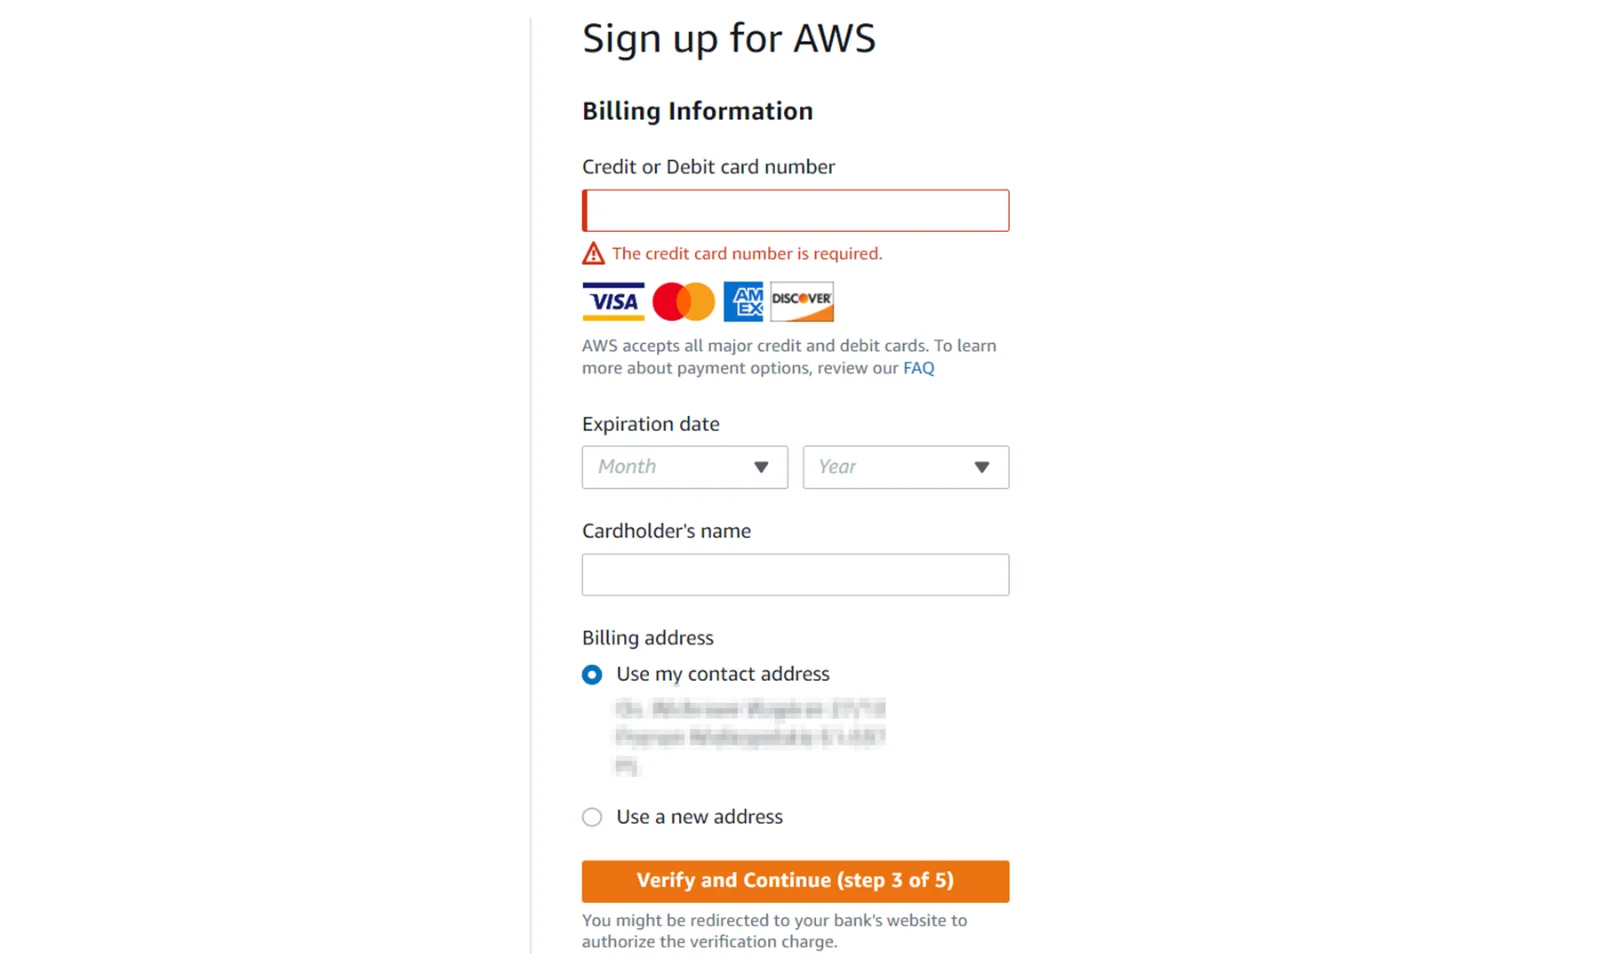
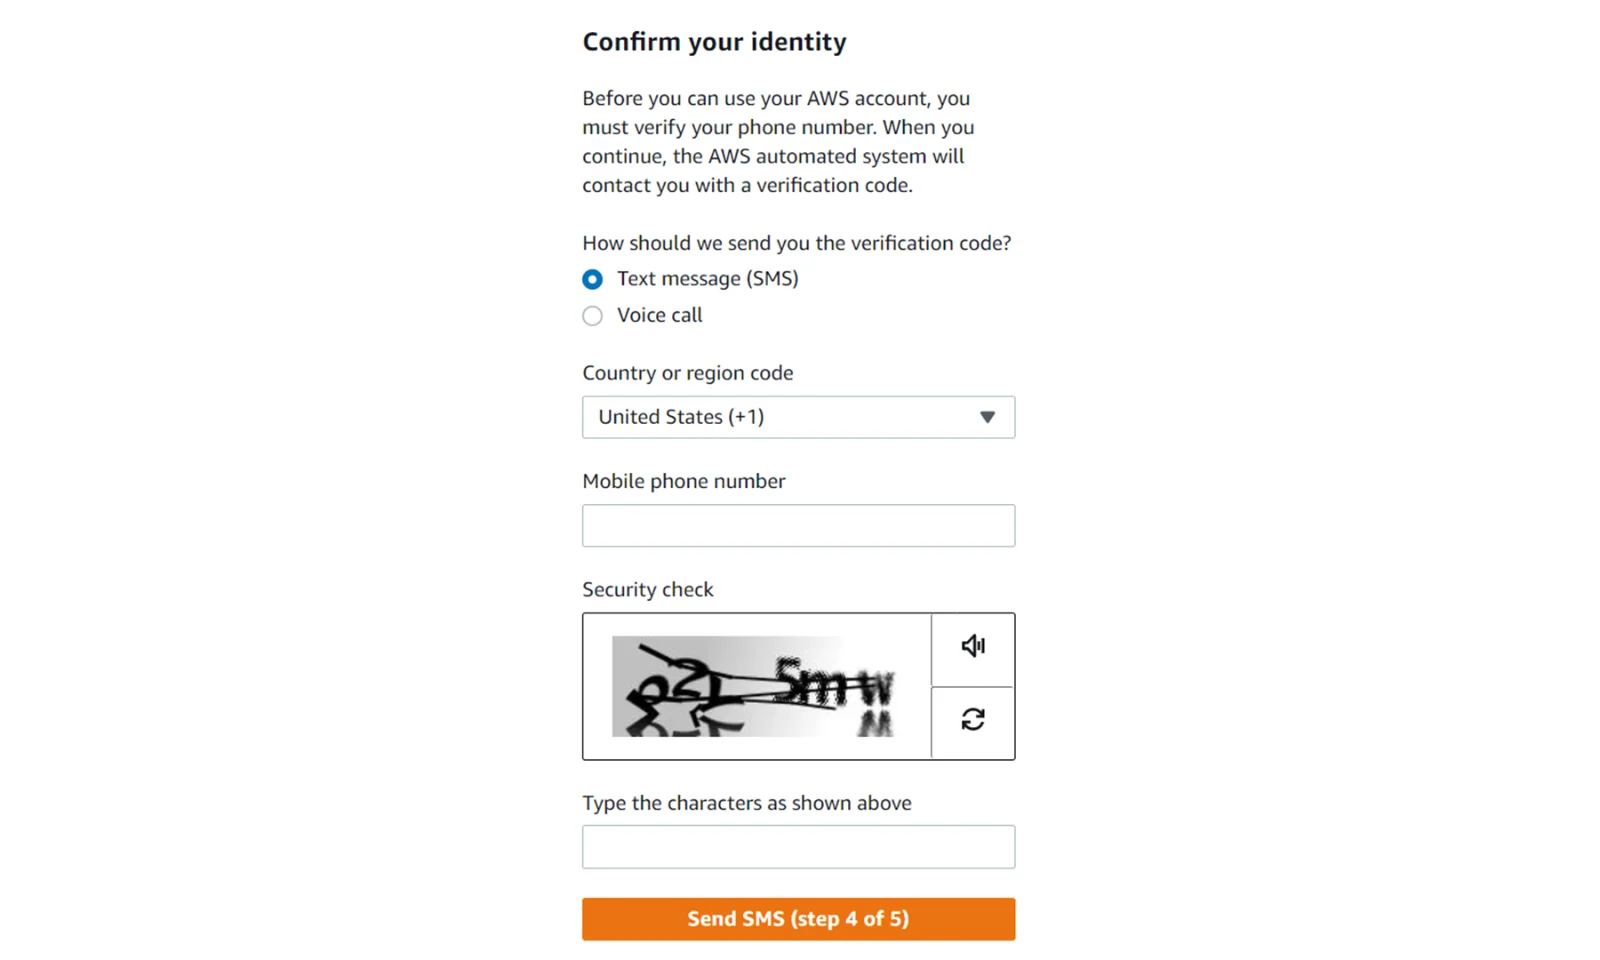
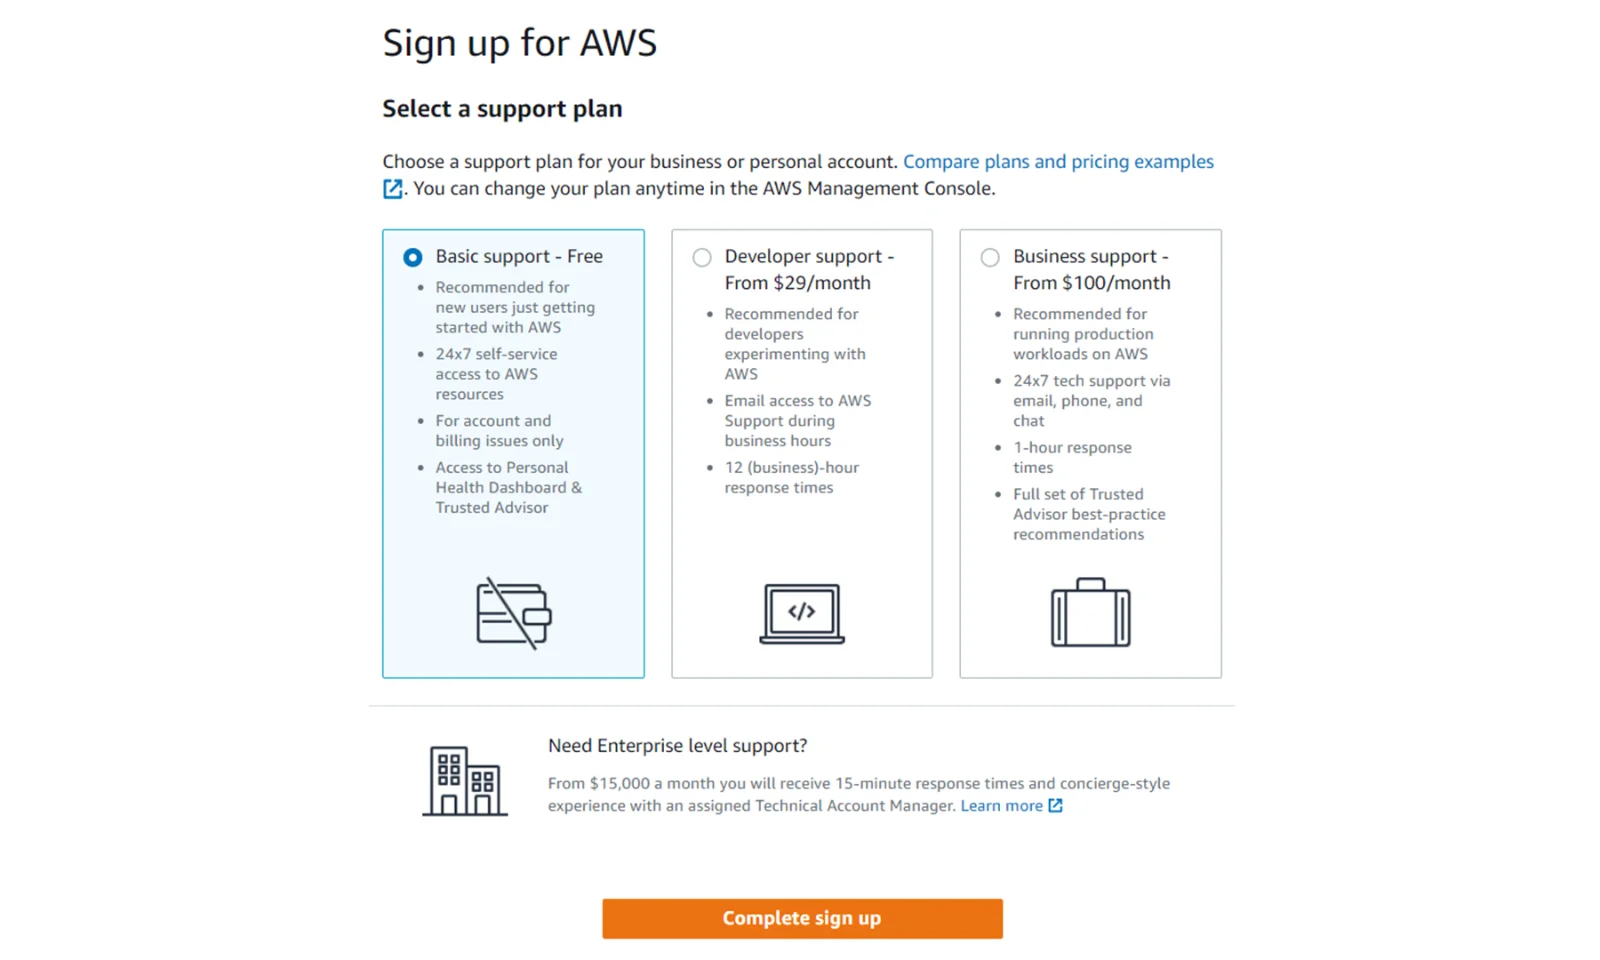


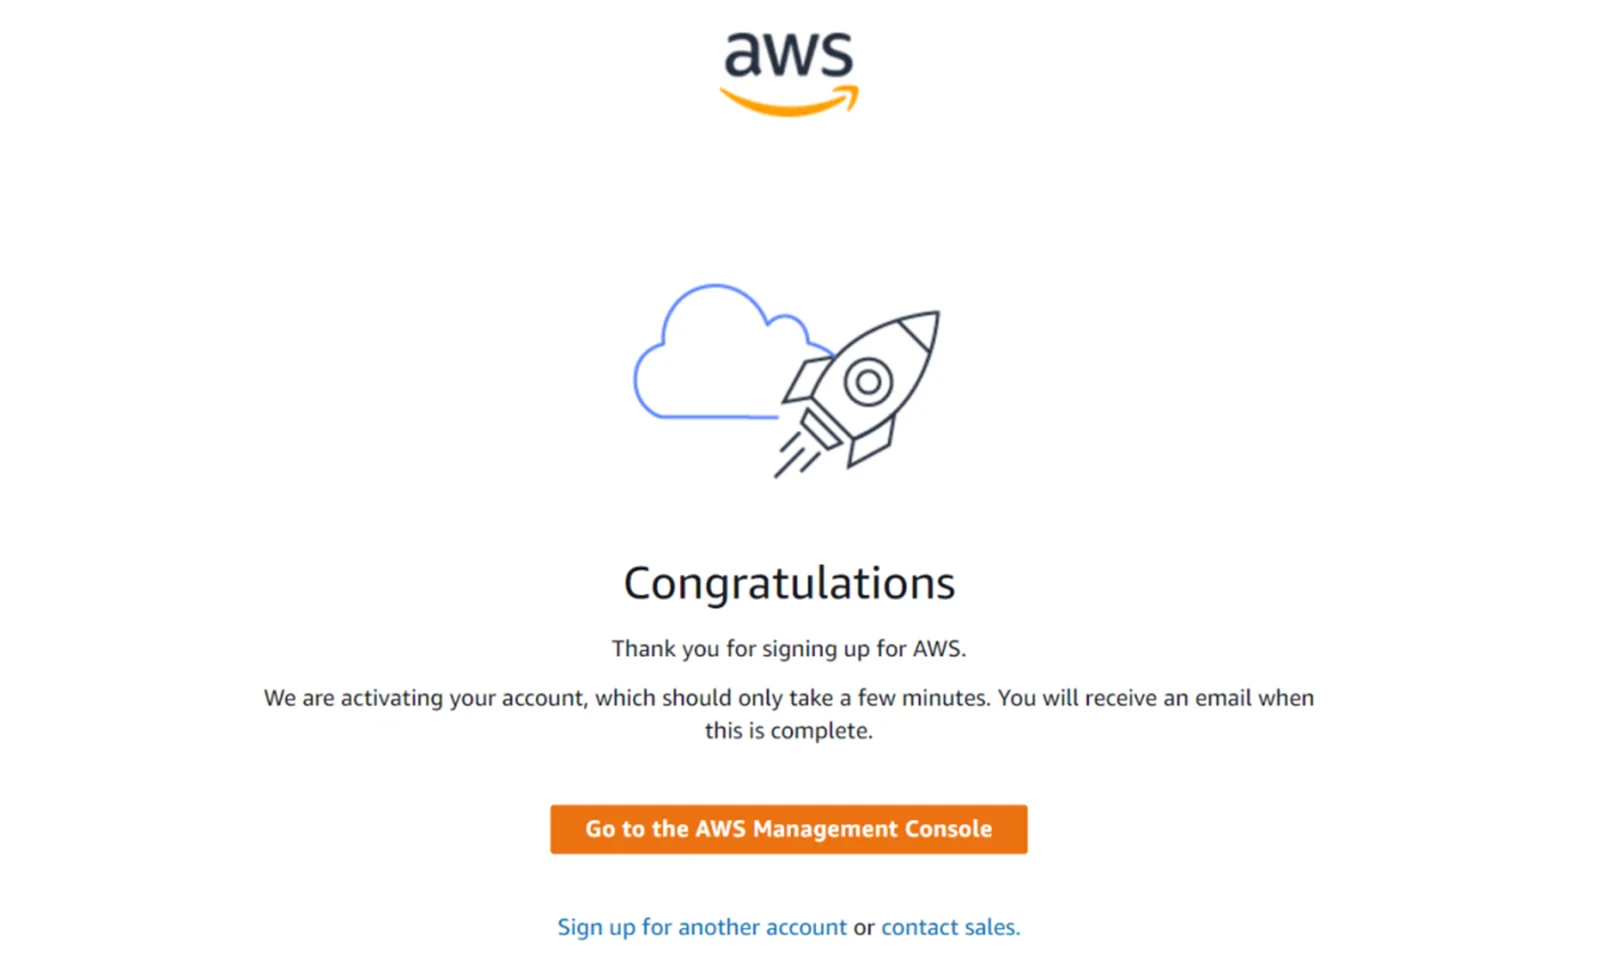
Congratulations
We have reached the final step. The account has been created, but we still have to wait a while until it is activated. We will receive information about this by e-mail.
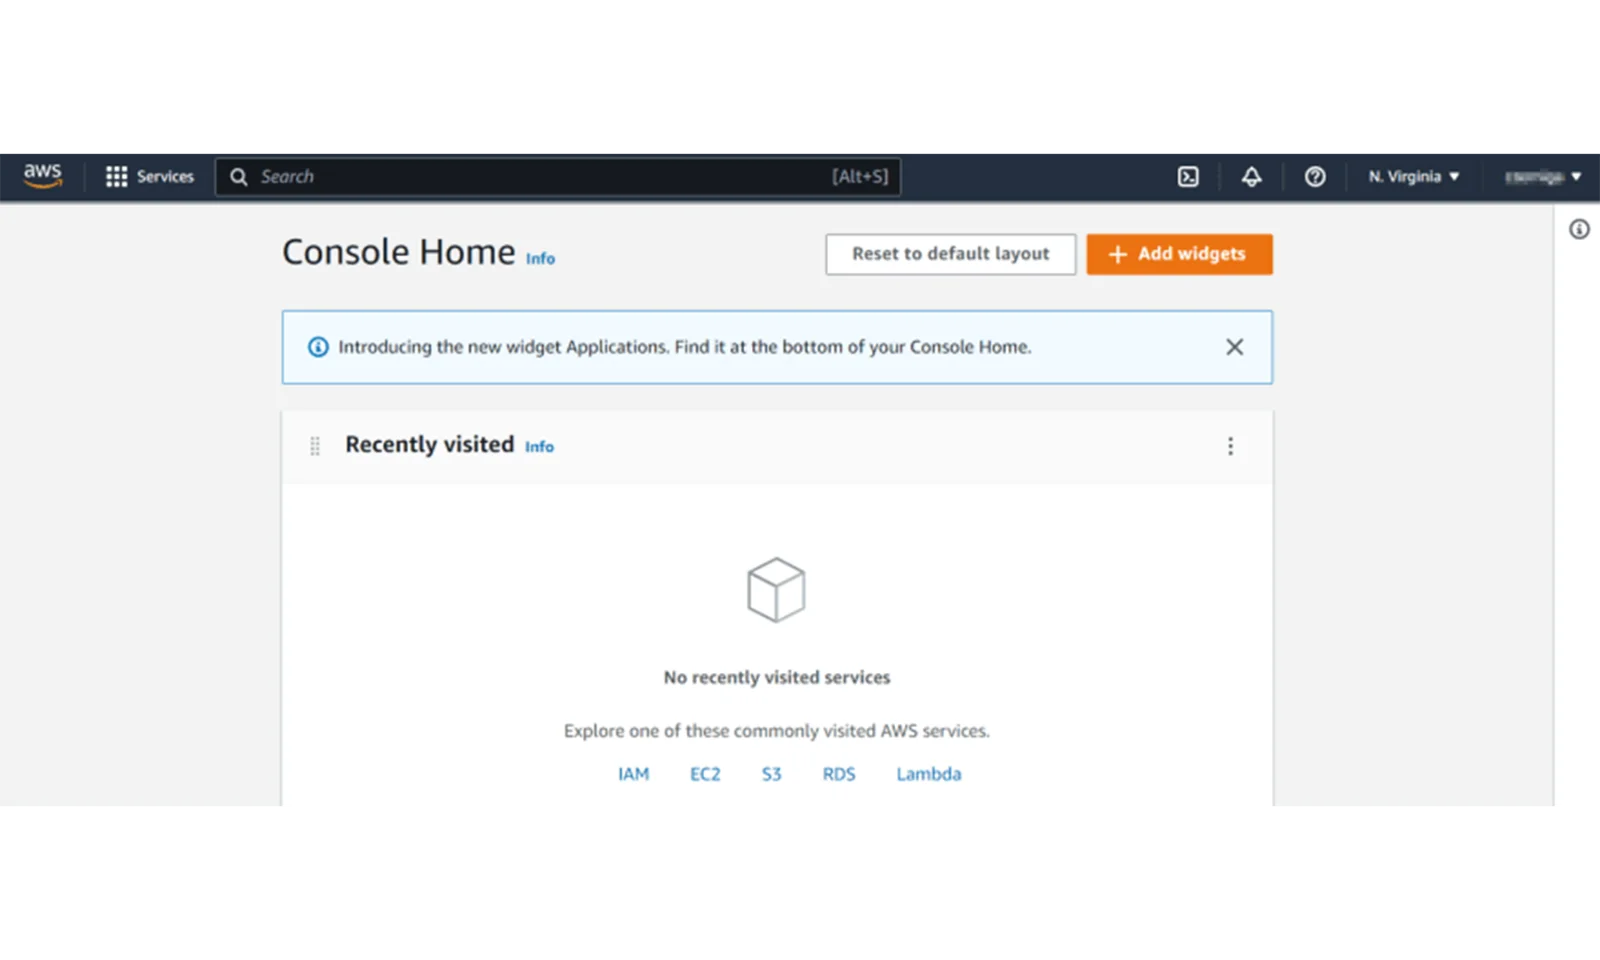
We create a user
After creating an account, we act as a root user. However, it is advisable to work with the account in the console from a user with lower privileges. Therefore, it is recommended to create such a user and use it to interact with the account.
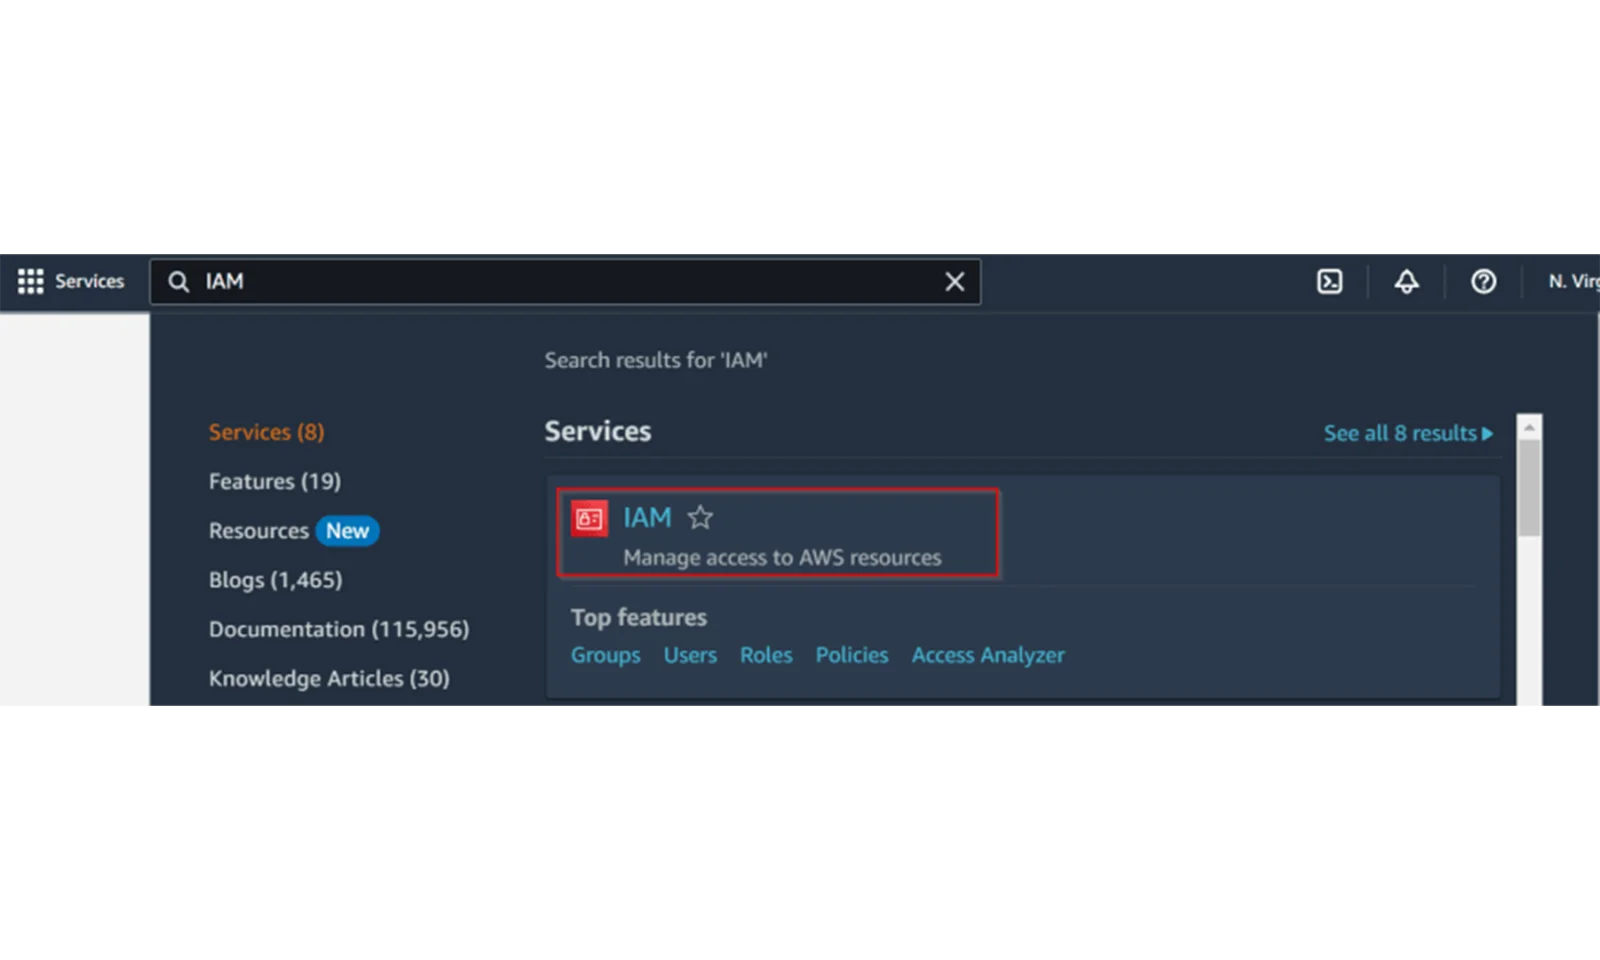
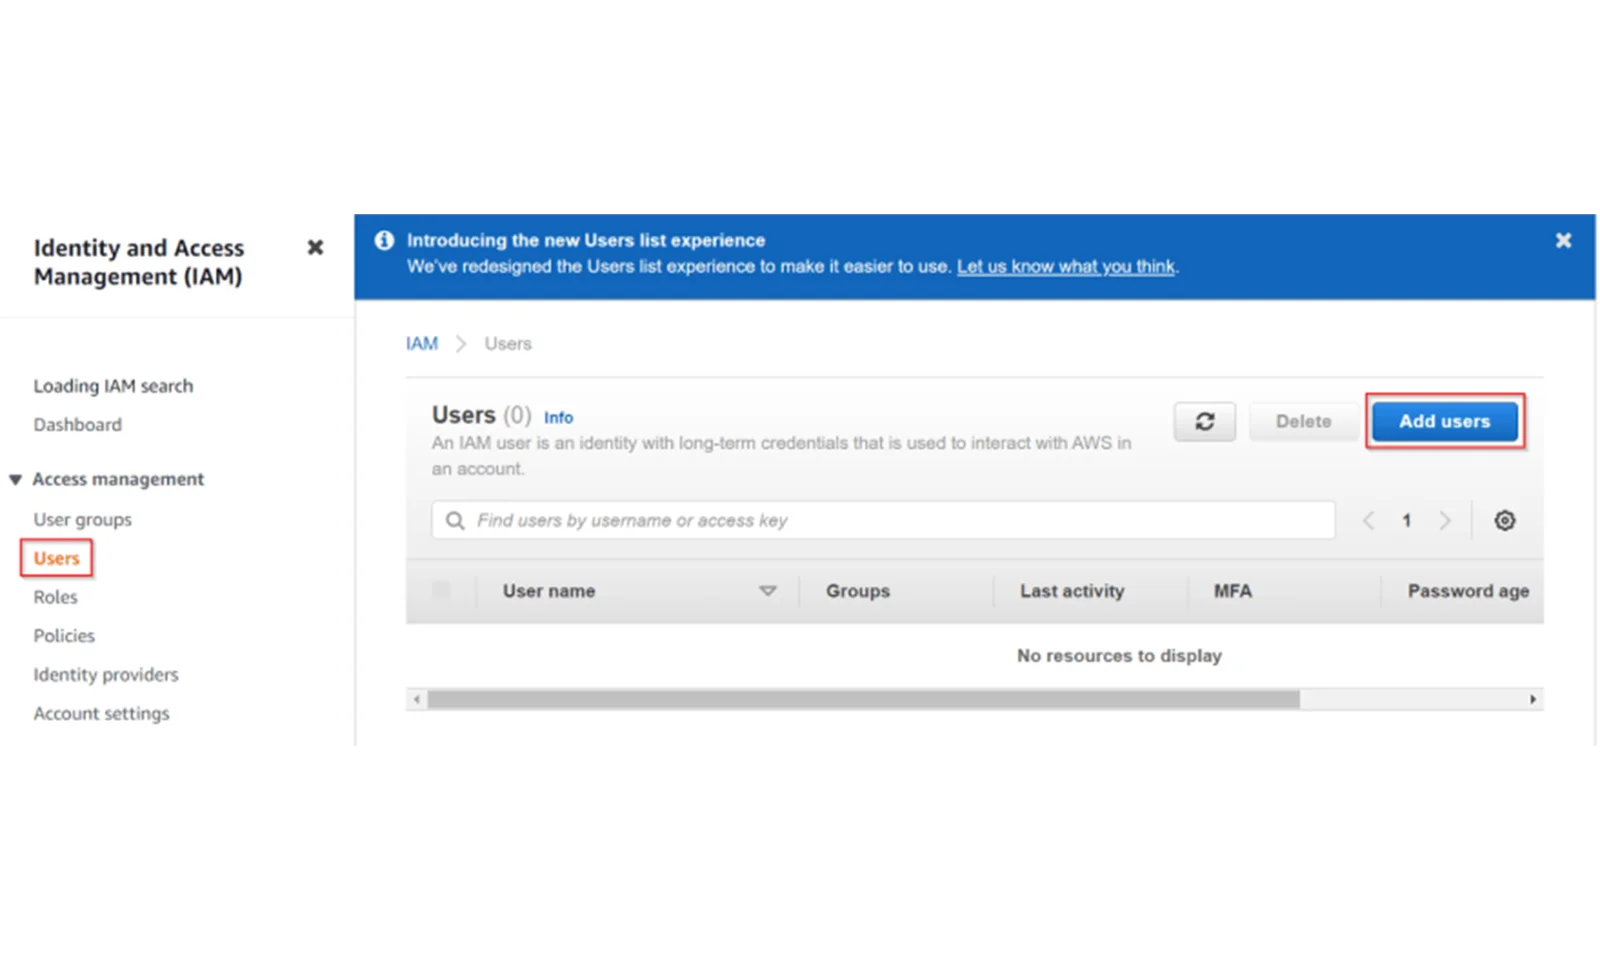
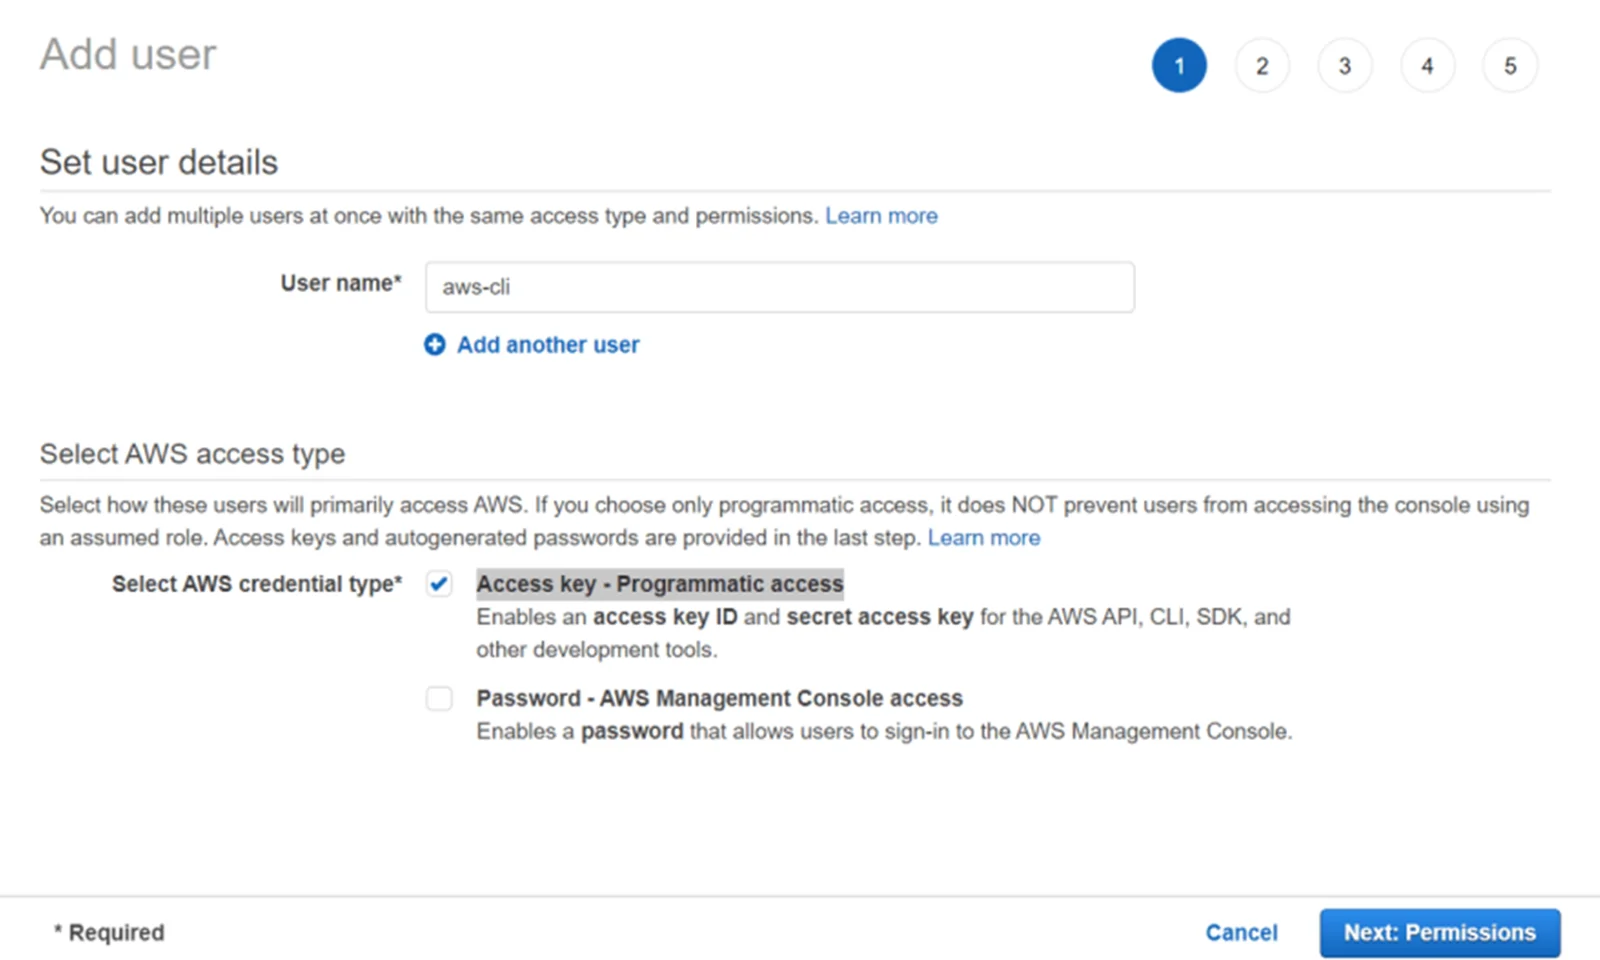
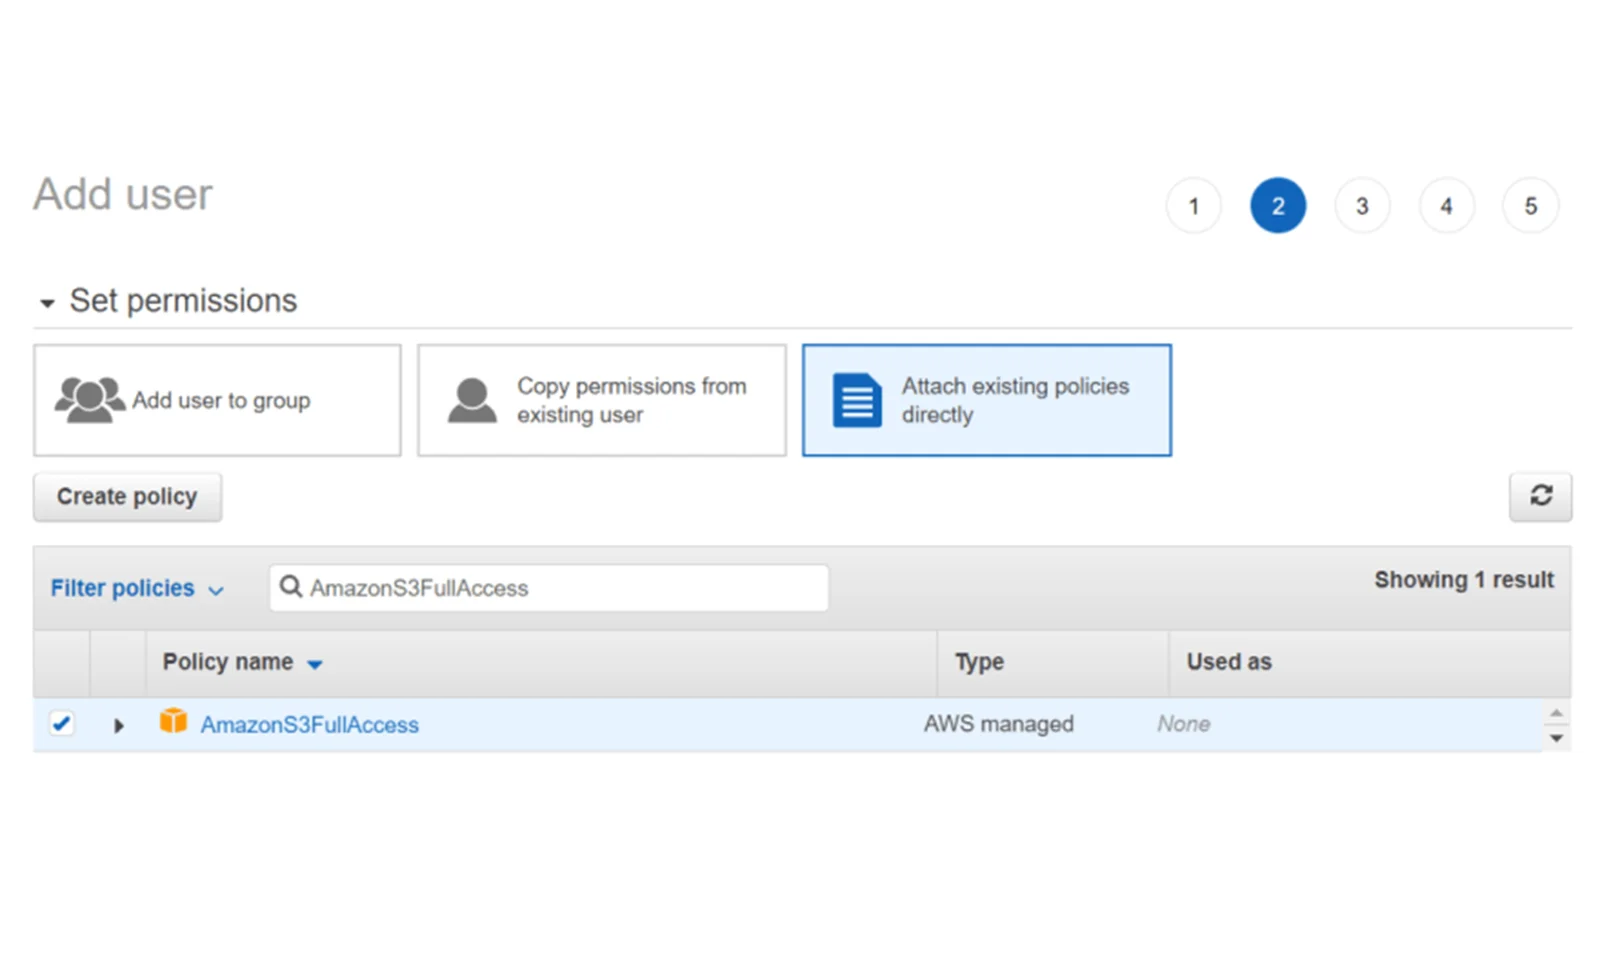
Step 5: In the next step, we assign tags to our account. We can skip this step and go to the next step - summary.
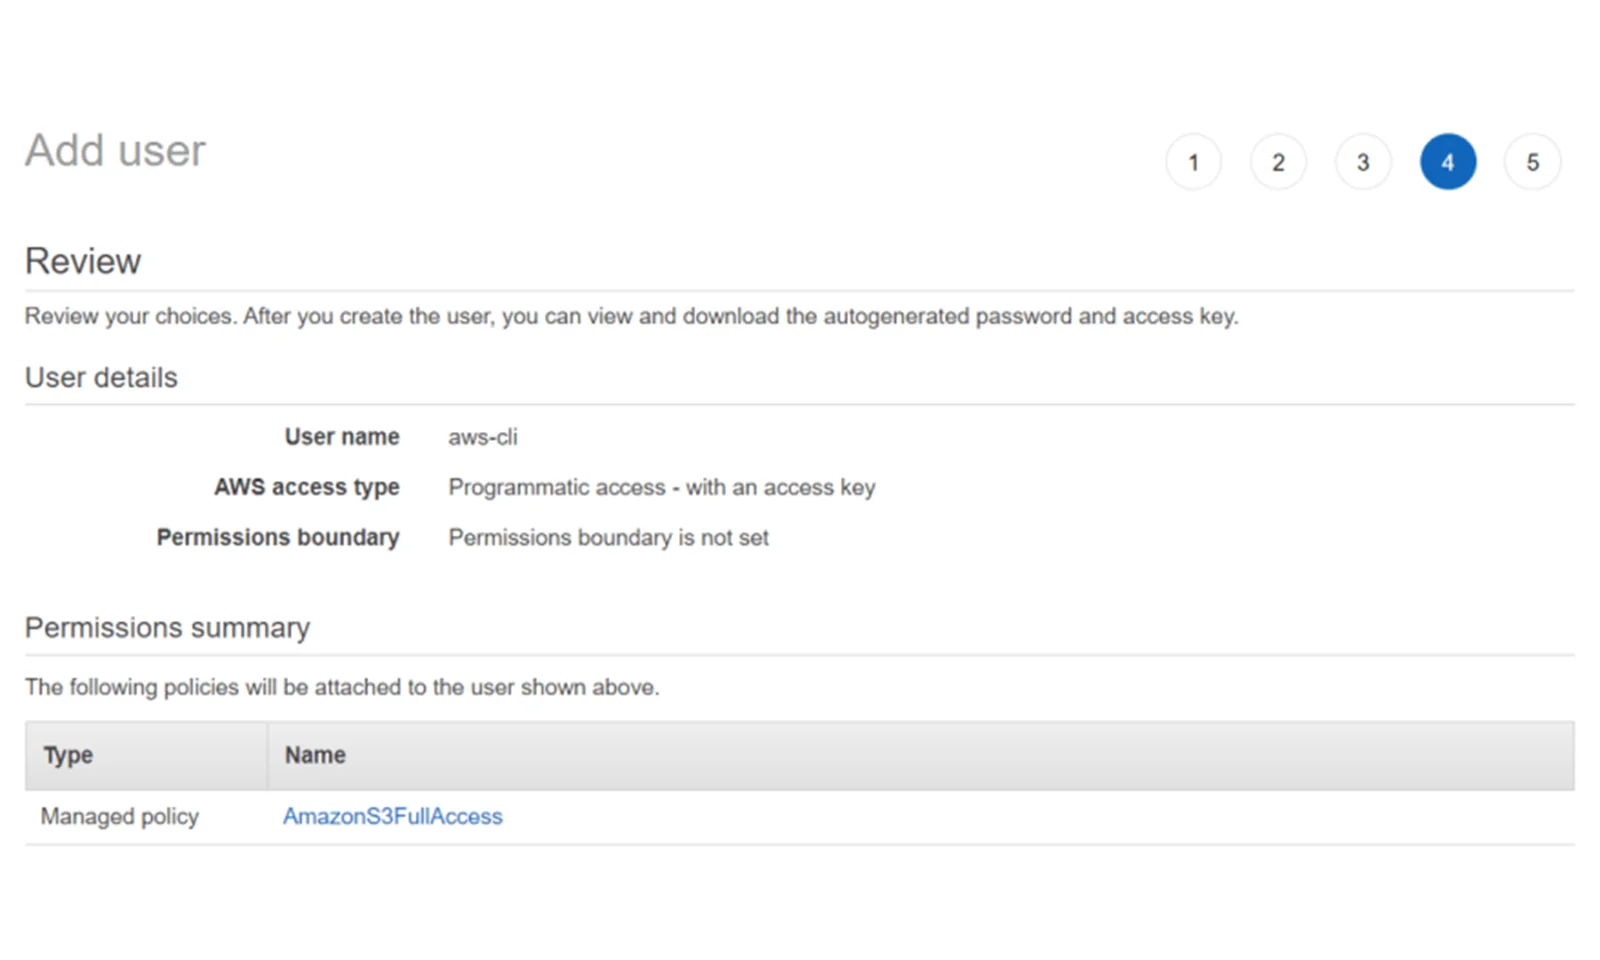
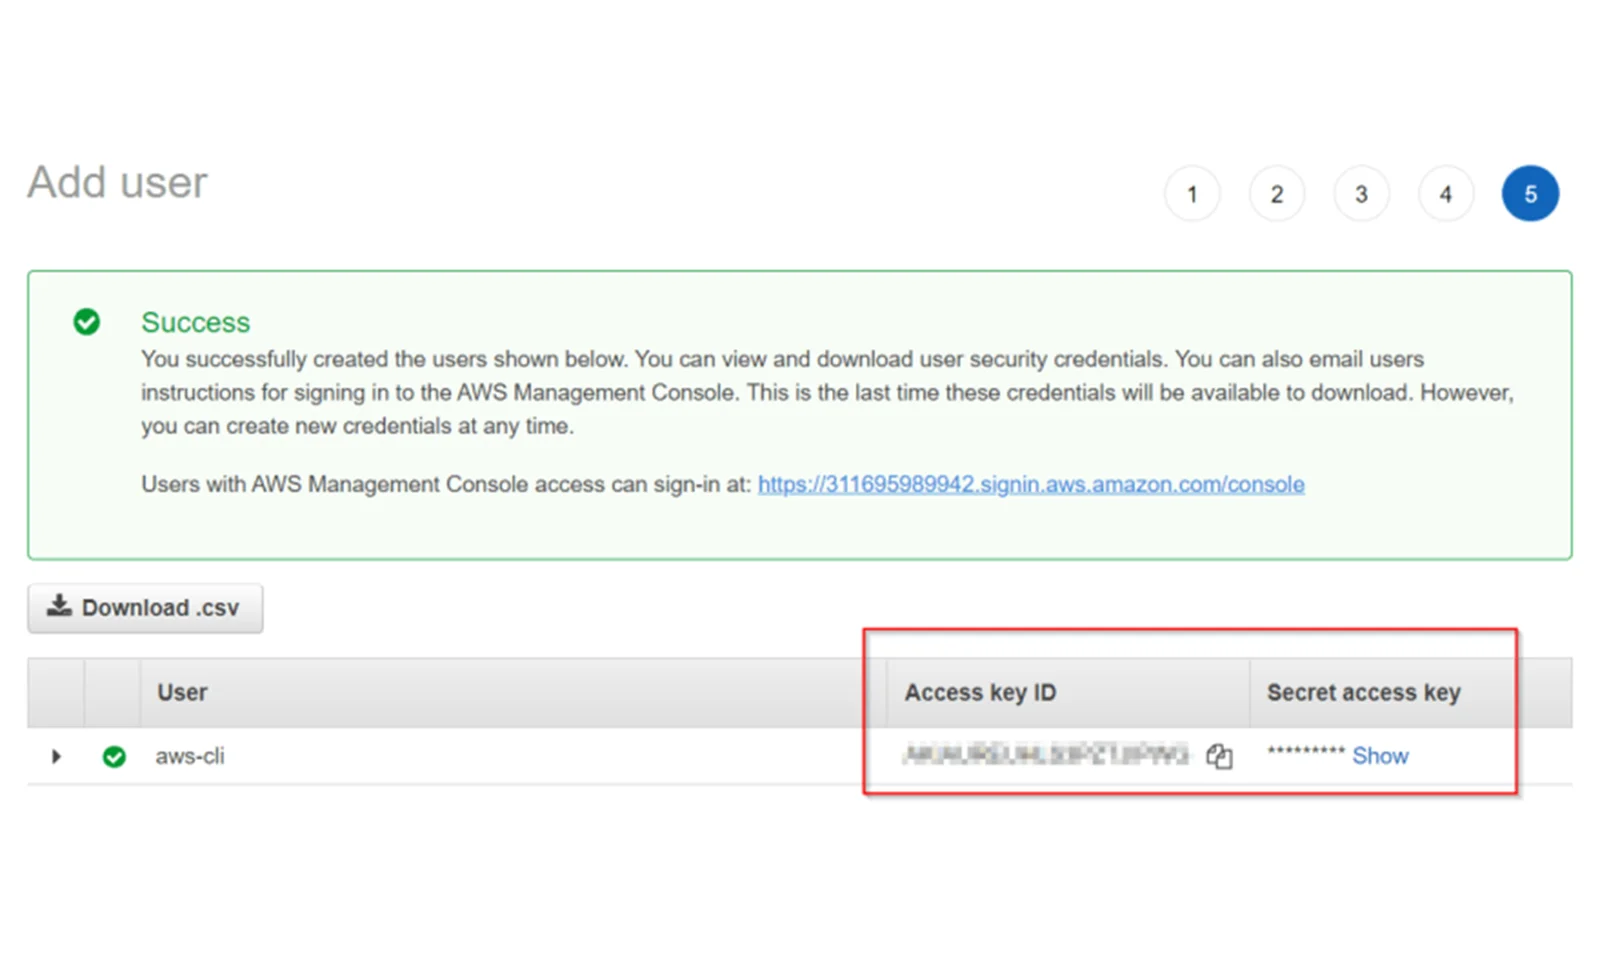
We configure AWS CLI
Amazon provides a very good AWS CLI tool that allows you to manage resources from the console. Below I present how to configure the Linux console. If you want to use other consoles (Windows or e.g. Mac), please visit the official AWS website.
Step 1
The first step is to install the AWS CLI tool. The fastest way to achieve this is to run the script below:
- curl "https://awscli.amazonaws.com/awscli-exe-linux-x86_64.zip" -o "awscliv2.zip" unzip awscliv2.zip sudo ./aws/install
After installing the tool, we can check whether it works properly by running the command:
- > aws --version aws-cli/2.1.10 Python/3.7.3 Linux/5.10.102.1-microsoft-standard-WSL2 exe/x86_64.ubuntu.20 prompt/off
Step 2
Now we need to configure our tool so that it can communicate with our account. To do this, we need to run the command:
- > aws configure AWS Access Key ID [None]: **[KEY_ID]** AWS Secret Access Key [None]: **[Access Key]** Default region name [None]: **[region]** Default output format [None]: json
In place of [KEY_ID] and [Access Key] we must provide our ID and the key generated when creating the user. Additionally, in [region] we provide the default region.
Step 3
After configuring the tool, we can check whether we are able to connect to our account. To do this, we can run an example command that will create an example S3 bucket. The bucket name must be unique
- > aws s3api create-bucket --bucket bucket-20221206 --region us-east-1 { "Location": "/bucket-20221206" }
Now we can display the bucket list:
- > aws s3 ls 2022-12-06 15:29:29 bucket-20221206
Finally, it is worth deleting this bucket:
- > aws s3api delete-bucket --bucket bucket-20221206 --region us-east-1
Summary
As I've shown in this guide, creating a free AWS account is simple and requires only registration on the Amazon website. Configuring the AWS CLI console is also not complicated and only requires a few minutes.
After configuring the above tools, you can start working with AWS using Infrastructure as Code tools such as Terraform. Which I sincerely encourage!


